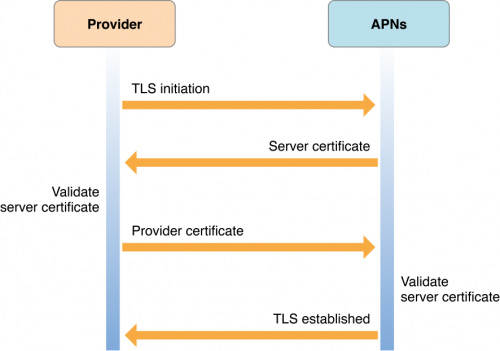
Push Notification Certificates
Each app that uses the SDK needs its own Push Certificate. The process starts with the app developer generating the corresponding signing request by using Keychain Access on a Mac, uploading the generated signing request to Apple's Member Center, and lastly exporting the Certificate to Customer Support for integration with SDK backend server.
Below are the step-by-step instructions for each of the following three steps:
- Signing request generation
- Uploading to Apple's Member Center
- Exporting the Certificate
Generating the Certificate Signing Request (CSR)
Follow these steps to generate the CSR:
- Open Keychain Access on the Mac
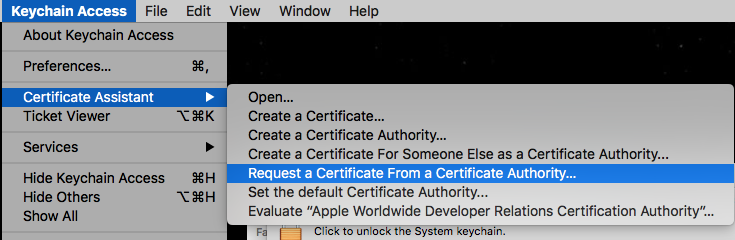
- Select Request a Certificate from a Certificate Authority from the menu
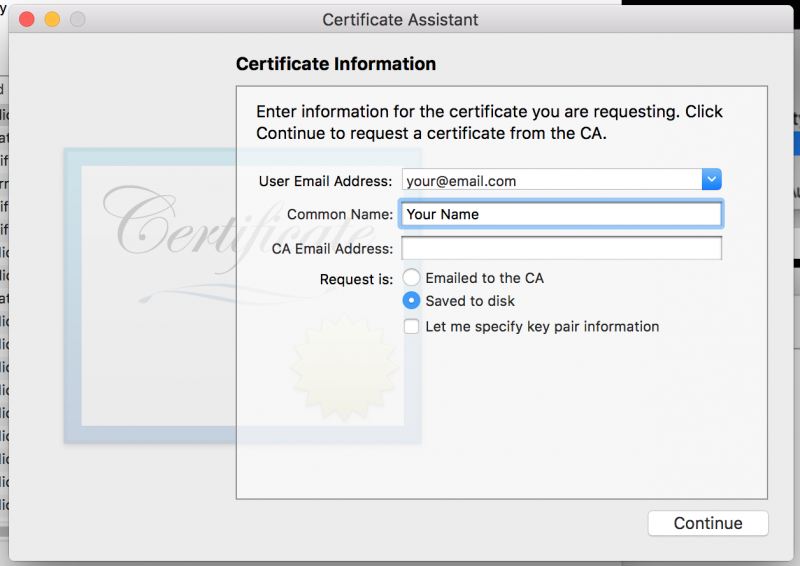
- Complete the email and name fields on the form and select the Saved to disk option.
- You will typically need a Development and a Production certificate. Use this procedure to create both CSR files:
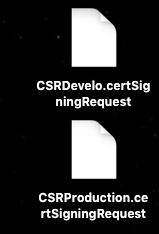
- CSRDevelop.certSigningRequest
- CSRProduction.certSigningRequest
You should end with two files:
Once you have the two CSRs it's time for you to configure your existing App ID or create a new one.
Creating your new App ID
If you already have an existing App ID, skip to the Push Notification configuration step.
- Log in into your Apple's Member Center
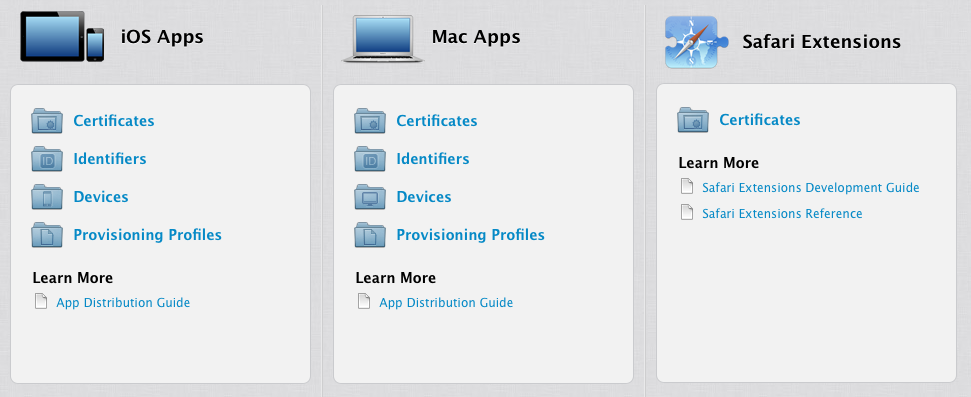
- Go to iOS Apps → Identifiers
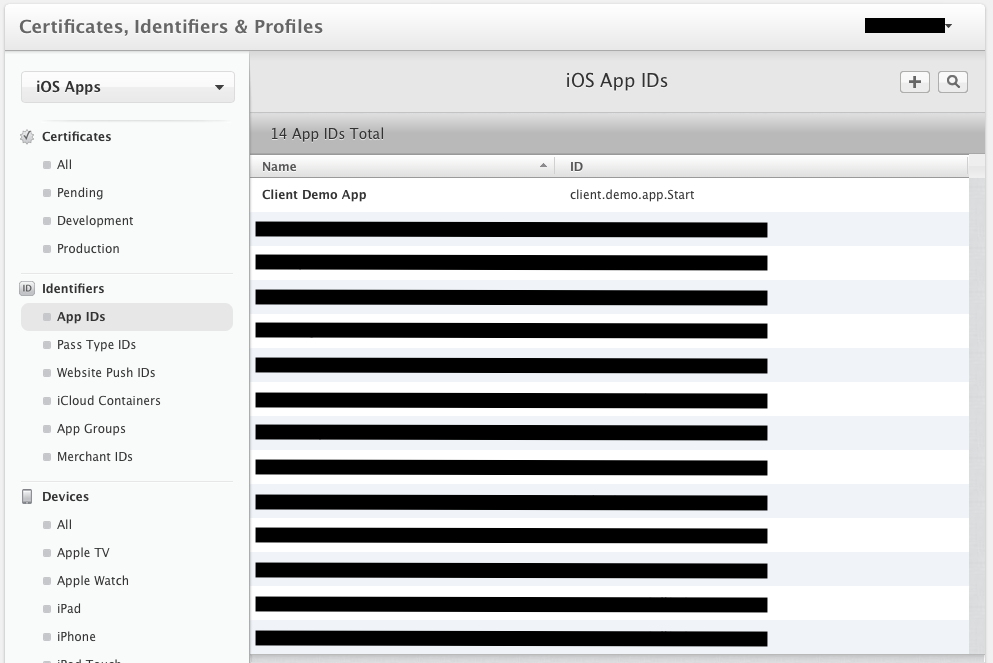
- Click the plus sign to add a new App ID
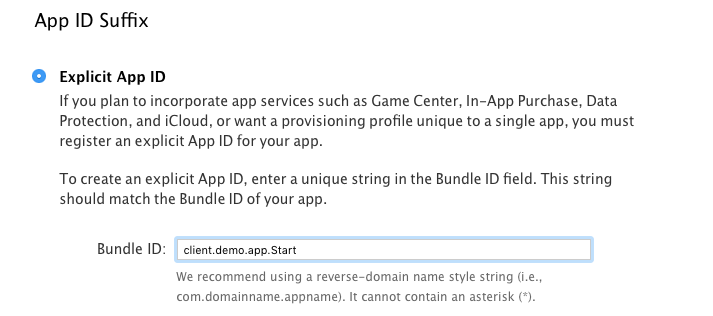
- Enter the desired name
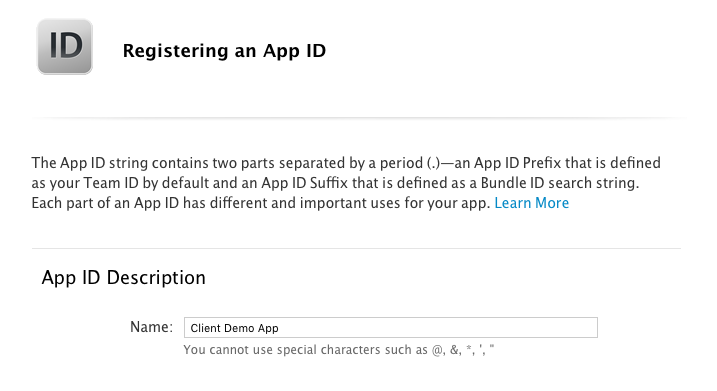
- Enter the Bundle ID, remember you need to type here the exact value from your Xcode project
- Select the services needed -remember to select Push Notifications-
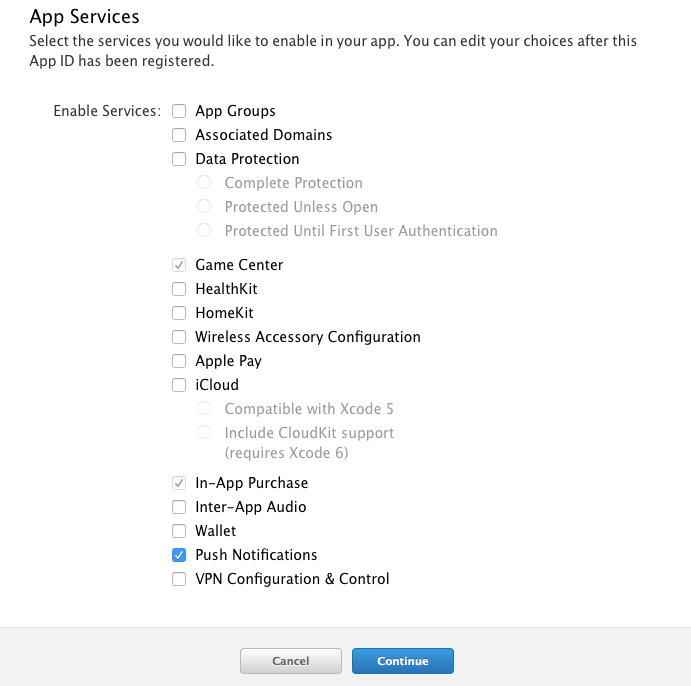
- Click Continue
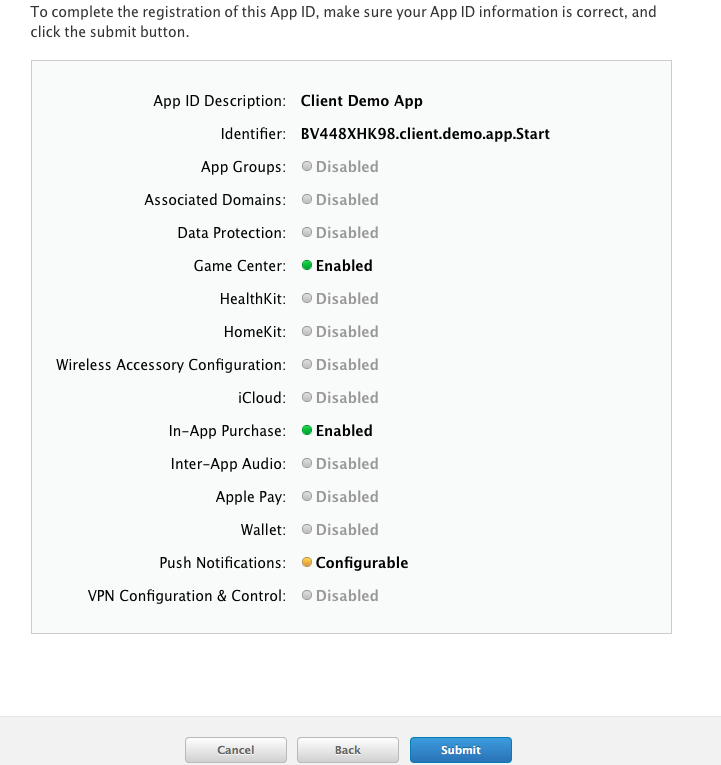
- Click Submit and you are done with your new App ID.
Now it's time to use those CSRs you created before in the configuration of the Push Notification feature.
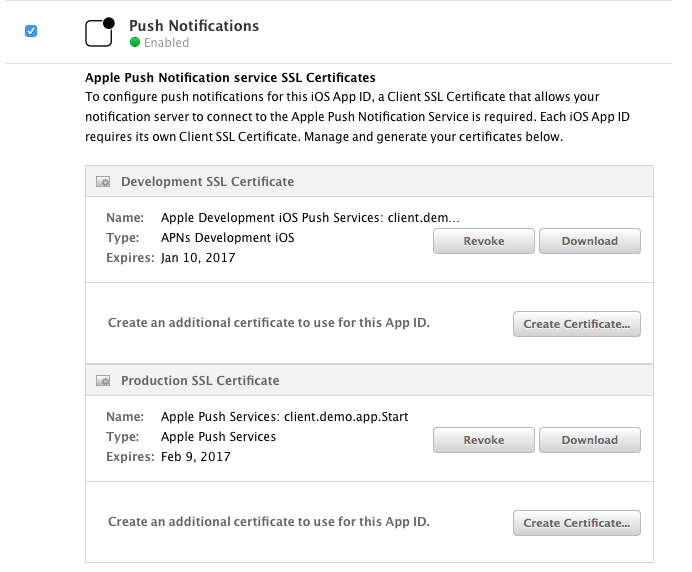
- Go back to you App ID list and edit the App ID you just created. Click on the edit button and scroll down to the Push Notifications section, you should see
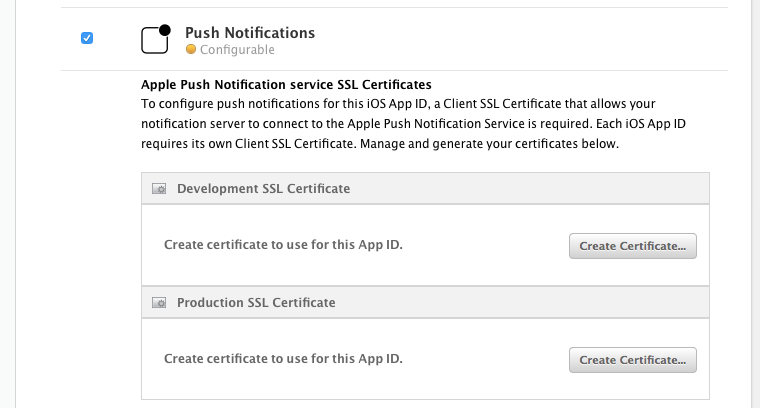
- Remember you are creating two certs. Click Create Certificate … and then click Continue you should see
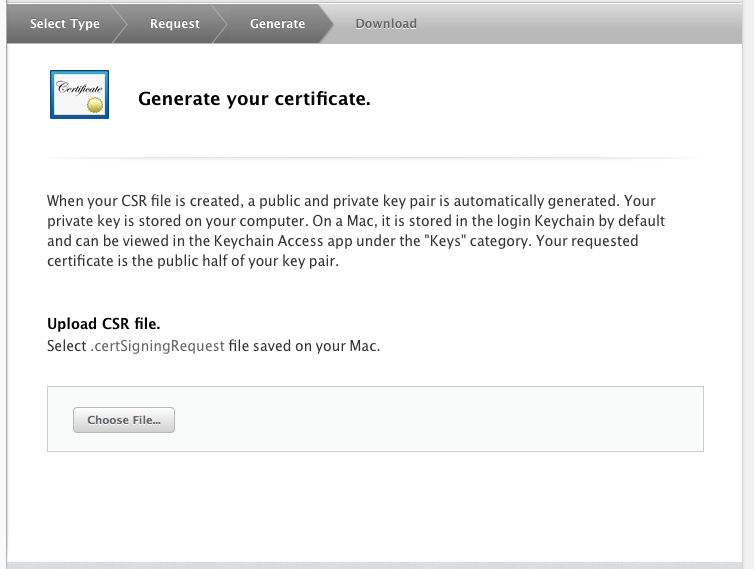
- Select the proper file depending on which certificate you are currently creating, could be either of
- CSRDevelop.certSigningRequest
- CSRProduction.certSigningRequest
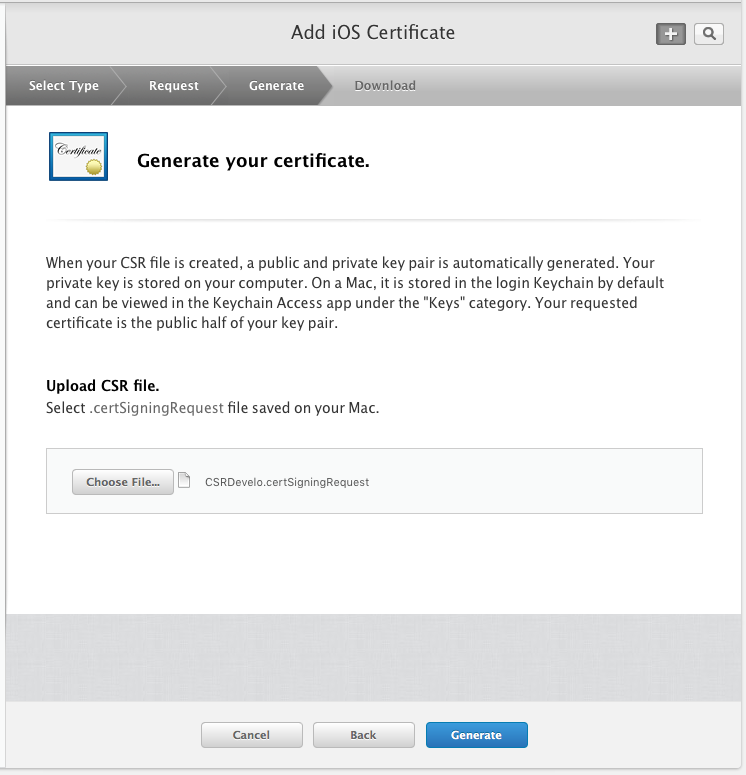
- Click Generate and remember to Download the certificate.
- After you complete this procedure twice (Development cert & Production cert) your Push Notification section must look like this:
Exporting Certificates
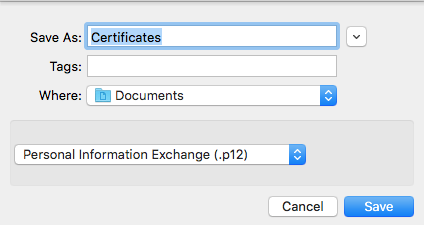
At this point you should have two .cer files, you need to export those as .p12 files in order to send them to Customer Support.
In your Mac, open each certificate in Keychain Access, right-click on the certificate and select Export “cert” …
Send the exported certificate to Customer Support via a Ticket including the Workspace name and credentials, and the instance URL.